Downloading a restored vintage illustration from Century Library is the easy part — getting it into Affinity Designer without losing resolution, color fidelity, or the font pairing that made you buy the plate in the first place is where most designers stall. Instead of guessing at import settings and re-downloading files three times, set up the workflow once: install fonts at the system level, place assets with the right resample method, and vectorize only what actually needs to scale.
- Century Library files in Affinity Designer import cleanest when you install OTF fonts system-wide before opening the app, not after.
- Use File > Place for illustrations and textures — embedding at full resolution avoids the pixelation that hits scaled raster art.
- Patterns and textures from Century Library work best as fill layers, not single placed images, to avoid visible tiling seams.
- Vectorize only line-art plates that need to scale to billboard size or laser-cut precision; keep painterly illustrations raster.
- Century Library's restored files carry embedded color profiles — match your Affinity document profile or colors shift on export.
Why this matters
Most stock or clip-art workflows assume you're dropping a JPEG into a template and calling it done. Century Library's catalogue is different: hand-restored 19th-century plates, antique fonts revived from period specimens, and texture packs meant for print packaging, not just social tiles. The path from Century Library to Affinity Designer has a few extra steps most stock-photo tutorials skip entirely — font installation order, color profile matching, and knowing which files should stay raster versus which should get traced to vector.
Get those three things right in 2026 and the rest of the workflow is fast. Get them wrong and you'll spend an afternoon wondering why your antique font won't show up in the Text tool or why a texture pack looks muddy after export.
Before you start
- An active Century Library subscription with download access to the illustration, font, or texture catalogue entry you're pulling from.
- Affinity Designer 2 installed and updated — older 1.x builds handle embedded color profiles inconsistently.
- The gotcha: antique OTF fonts must be installed at the operating system level (Font Book on Mac, Fonts settings on Windows) before you launch Affinity Designer. If the app is already open when you install a font, it won't appear in the Text tool's font list until you fully quit and relaunch. Opening a new document does not refresh the font cache.
Set up your Century Library download
- Log into your Century Library account and open the catalogue entry for the plate, font, or texture pack you want.
- Check the download panel for the available formats — restored illustrations ship as high-resolution raster files, fonts as OTF, textures as tileable images.
- Download the full-resolution file, not a preview or thumbnail. Century Library's plates are restored at print resolution specifically so they hold up when placed and scaled inside a design tool.
- If you're pulling a font, unzip the OTF file into a folder you can find again — you'll need it in the next step, before Affinity Designer opens.
Expected result: a folder containing full-resolution image files and, if applicable, an unzipped OTF font file ready to install.
Install antique fonts before you open Affinity Designer
- Quit Affinity Designer completely if it's currently running.
- On Mac, double-click the OTF file and click Install Font in Font Book. On Windows, right-click the OTF file and select Install.
- Wait for the system font cache to update — a few seconds, longer on Windows when you install several faces at once.
- Launch Affinity Designer, select the Text tool, and click the font dropdown. Type the font name to confirm it appears.
Expected result: the antique font shows in Affinity Designer's font picker and renders correctly when you type a test line on the canvas.
Place illustrations and textures into your document
- Open or create your document. Check File > Document Setup and confirm the color profile matches your output — sRGB for web, CMYK for print packaging.
- Go to File > Place, navigate to the downloaded Century Library file, and click Open.
- Click once on the canvas to place the image at its native resolution, or click-and-drag to size it manually. Do not drag past 100% of native size on raster illustrations — that's where pixelation starts.
- In the Layers panel, confirm the placed image reads as an embedded object rather than a broken link, especially if you'll hand the .afdesign file to a collaborator.
Expected result: the illustration sits on your canvas at full quality, and zooming to 200% still shows clean engraved linework rather than soft edges.
Vectorize raster plates for scalable branding
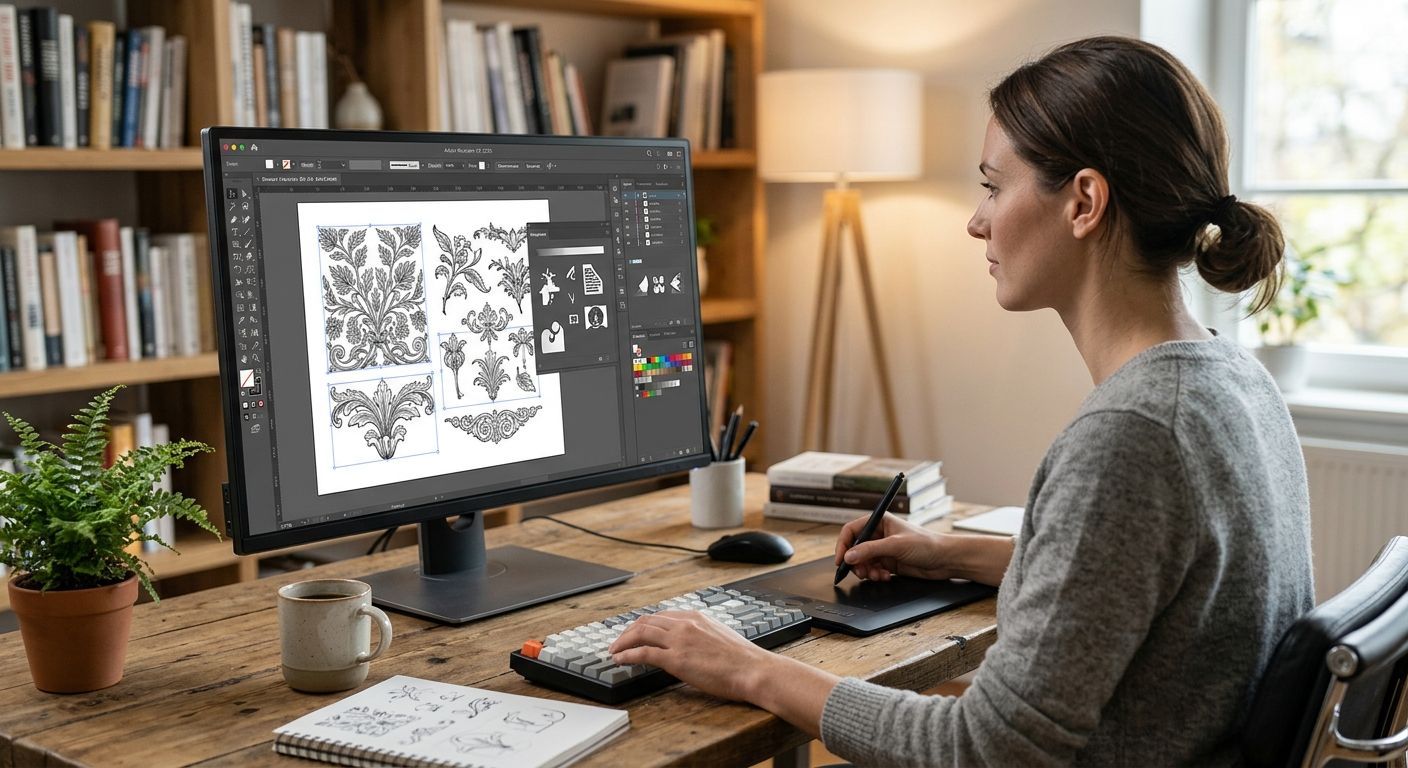
Some Century Library plates — line engravings, botanical outlines, ornamental borders — work better as vector paths than fixed-resolution raster images, particularly for logo work or cut files.
- With the placed image selected, open Layer > Trace Image (or the Trace persona on the toolbar in Affinity Designer 2).
- Choose a preset close to the source art: Line Art for engravings, Detailed for illustrations with shading.
- Adjust the Threshold slider until the traced outline matches the original plate without dropping fine hatching.
- Click Apply, then hide or delete the original raster layer once the trace checks out.
Expected result: a scalable vector version that holds sharp edges at any size — usable for a wordmark, an embroidery file, or signage where raster art breaks down.
Second variant: turning textures into repeatable fills
Instead of placing a texture once and stretching it across the canvas, treat Century Library's tileable packs as a fill source so the pattern repeats cleanly at any artboard size.
- Place the texture file as described above, select it, and use Edit > Copy.
- Select the shape you want textured, then use Edit > Paste Inside to constrain the pattern to that shape.
- In the Transform panel, set width and height to the texture's native tile dimensions so the repeat stays seamless.
- Duplicate and offset the layer if the pattern needs to extend beyond one tile, checking the join at 100% zoom.
This variant matters for packaging and stationery work in 2026, where a paper texture has to cover a full sheet without stretch artifacts — a flaw that shows up immediately on a printed proof and never on screen.
Browse the archive before your next project
Restored illustrations, antique fonts and textures ready to place in Affinity Designer.
Troubleshooting
- Font doesn't appear in the Text tool. Almost always caused by installing it while the app was open. Quit Affinity Designer fully, confirm the font shows in your OS font manager, then relaunch.
- Illustration looks pixelated on export. You scaled a raster plate past its native resolution. Re-place the file at 100% size, or trace it to vector if you genuinely need it larger.
- Colors look flat next to the Century Library preview. Your document color profile doesn't match the file's embedded profile. Check File > Document Setup and compare sRGB against CMYK before you commit.
- Texture shows a visible seam. The tile size in your Transform panel doesn't match the texture's native dimensions. Reset the layer to the file's original pixel size, then repeat it.
- File size balloons after placing several plates. Embedded files carry full resolution inside the document. Link while you're proofing layout, then embed the final files before export.
Customize your workflow
Once the import is solid, most designers start mixing formats inside one project — an antique display face from one catalogue entry, a botanical plate from another, a paper texture layered underneath for print depth. If you're building a full stationery or packaging system in 2026, the roundup of antique font subscriptions for logo designers shows which font families sit well next to restored illustration plates.
If your team also runs quick social assets outside Affinity Designer, the Century Library to Canva workflow covers the parallel import path so you aren't maintaining two disconnected asset libraries.
FAQ
Can I open Century Library files directly in Affinity Designer?
Yes. Restored illustrations come as high-resolution raster files and fonts as OTF, both supported natively through File > Place or standard system font installation. No conversion step is required.
Why won't my Century Library font show up in Affinity Designer?
The font list only refreshes when the app launches. If you installed the OTF while Affinity Designer was open, quit and relaunch it to see the face in the Text tool.
Should I vectorize every Century Library illustration?
No. Vectorize line engravings and outlines that need to scale large or drive a cut file. Painterly and heavily shaded plates look better kept as full-resolution raster placements.
Can I use Century Library files for commercial projects?
Century Library sells subscription access for commercial use by designers, brand builders and stationery or craft creators. Check the license terms attached to your subscription before shipping client work.
How do I avoid color shifts when exporting from Affinity Designer?
Match your document color profile in File > Document Setup to your intended output before placing files — sRGB for web, CMYK for print. Mismatched profiles cause the most visible shift.
Can Century Library textures be used as repeating patterns?
Yes. Place the texture, then use Paste Inside on a shape and set the Transform panel to the tile's native pixel dimensions so the repeat stays seamless across a full sheet.
What's the difference between embedding and linking a placed file?
Embedding stores the full file inside your .afdesign document, which keeps it portable but inflates file size. Linking keeps the file external and loads faster, but breaks if the source file moves.
Is Affinity Designer better than Illustrator for vintage illustration work?
Both handle restored plates and antique OTF fonts the same way at import. Affinity Designer's one-time license appeals to solo designers; Illustrator wins where a studio already runs shared Adobe libraries.
One last thing
The biggest quality difference in this workflow isn't the trace settings or the fill-layer trick — it's placing files at native resolution and never scaling raster art past 100% on the canvas. Century Library restores its plates at print resolution so a designer can drop them straight into a packaging mockup without a second scan. Stretching that file past its native size throws that restoration work away for nothing.