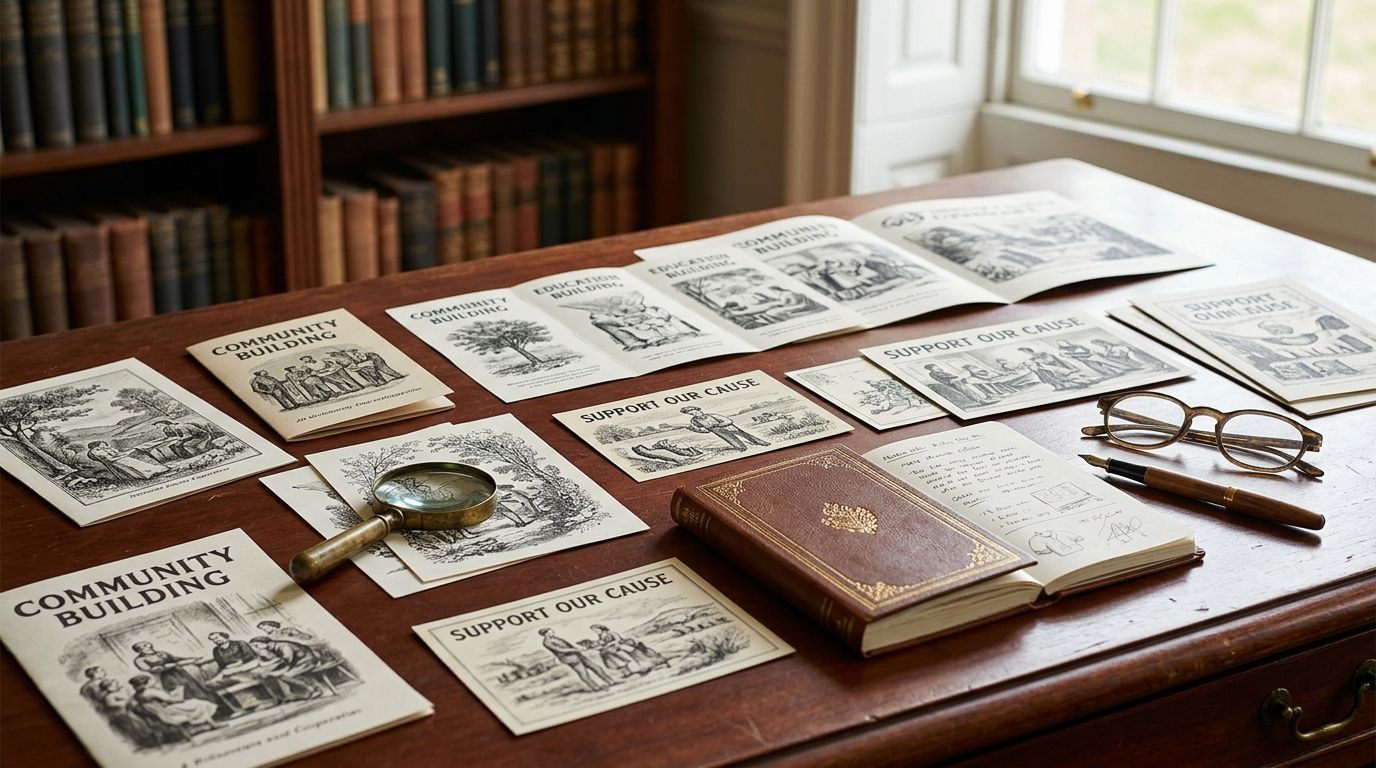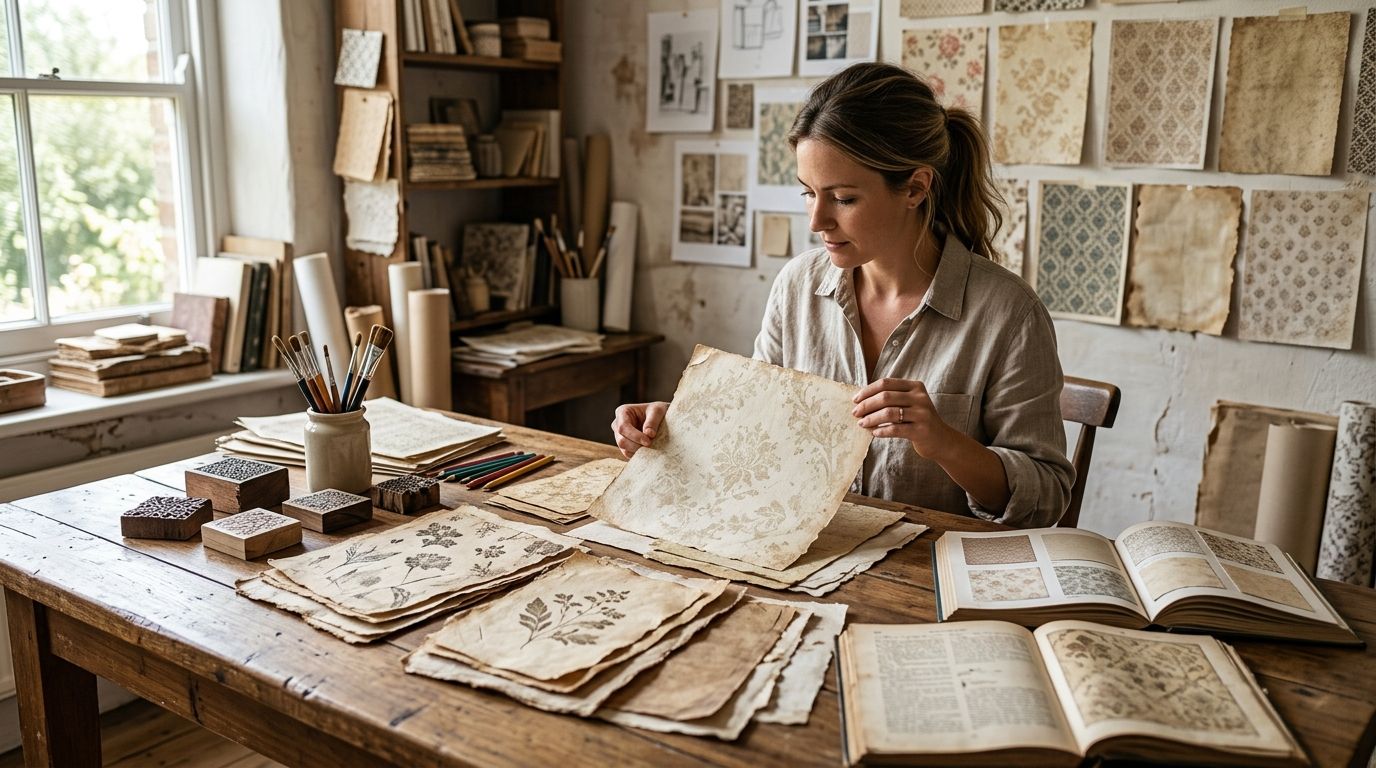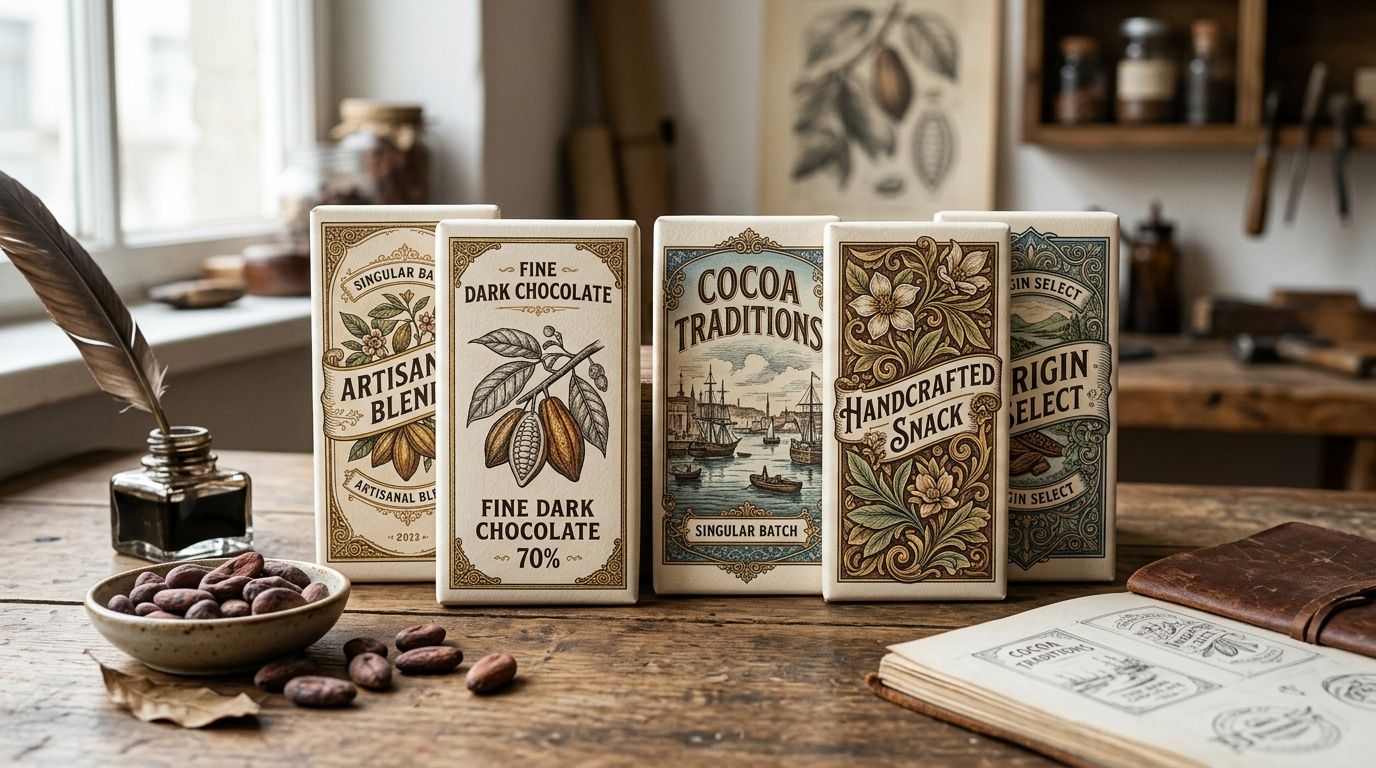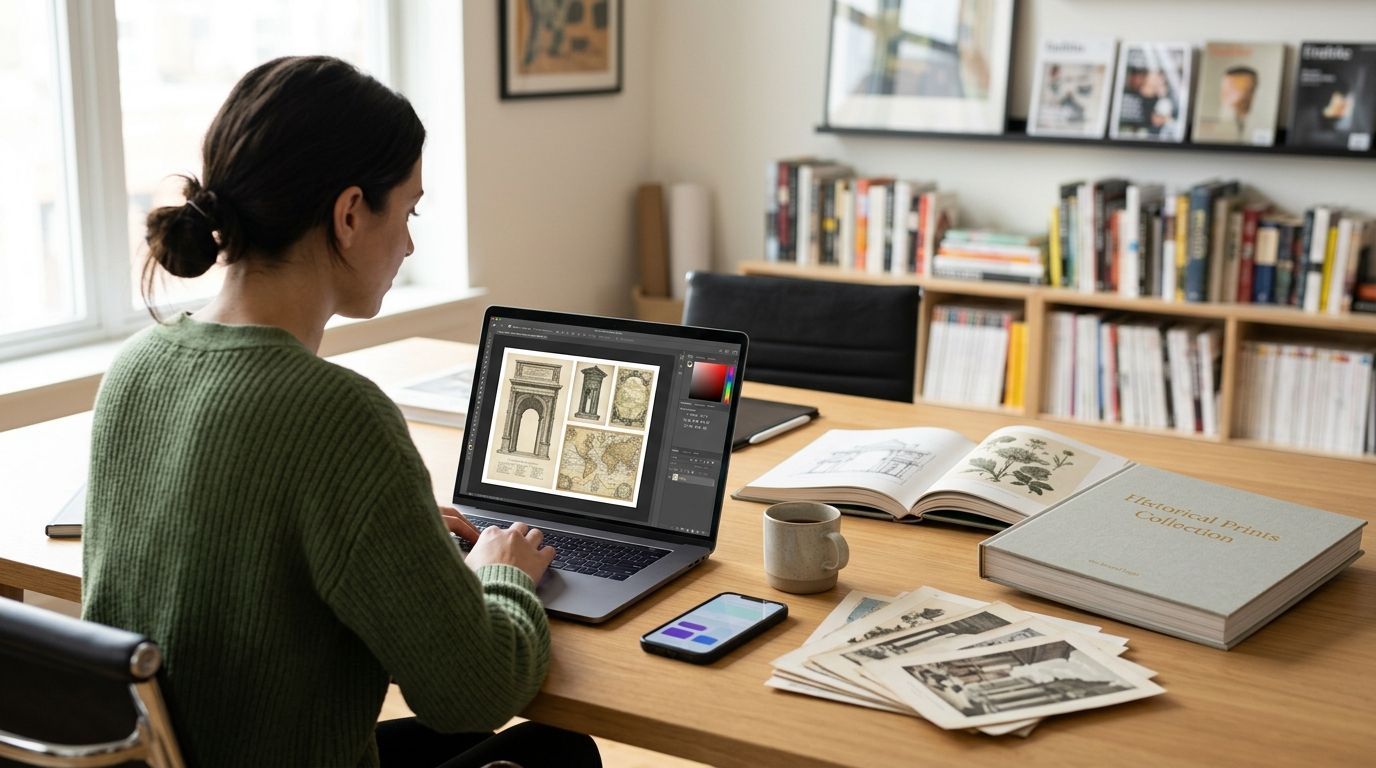
Century Library gives you hand-restored illustrations and antique fonts at full archive resolution — Canva gives you the layout tools most designers already live in. Instead of exporting files, hunting for the right folder, and re-uploading the same plate every time you start a new project, set up one upload routine and one Brand Kit folder so every restored asset is one click away inside Canva for the rest of 2026.
- Download from Century Library at full resolution, then upload directly into a dedicated Canva folder — no resizing needed for most layouts.
- PNG files with transparent backgrounds work best for illustrations, patterns and borders layered over Canva templates.
- Font files (.otf/.ttf) must be uploaded through Canva's Brand Kit, not the design editor, or they won't appear in the text tool.
- Century Library's commercial license covers Canva projects sold as products, but check terms before reselling a design as a template itself.
- Building one master Canva folder per Century Library category saves the most time across repeat projects in 2026.
Why this matters
Most stock sites hand you a JPEG and a licensing headache. Century Library's archive is different — every illustration, font and pattern is restored from an actual 19th or early 20th-century source, catalogued by plate number, and cleared for commercial use under the subscription. That's a genuine advantage in Canva, where designers are constantly layering assets into invitations, packaging mockups and social templates and need files that hold up at full size, not compressed thumbnails.
The catch is that Canva wasn't built with a vintage archive in mind. Fonts need a different upload path than images. Transparent PNGs behave differently than the composite JPEGs some designers default to. Get the workflow wrong once and you'll spend an afternoon re-uploading fifty files. Get it right and Century Library becomes a permanent extension of your Canva account rather than a separate tab you keep switching to.
Before you start
- An active Century Library subscription with download access to the archive — free previews don't unlock full-resolution files.
- A Canva Pro account if you want to use the Brand Kit for fonts; the free Canva tier lets you upload images but not custom typefaces.
- The gotcha: Canva strips some transparency data from PNGs over 25MB during upload. Century Library's largest illustration plates and full-page botanical scans can exceed that. Downscale oversized files in a free tool like Preview or Photopea before uploading, or the background won't stay transparent once it lands in your Canva design.
Set up your Century Library download
- Log into your account and open the plate, pattern or font you want from the archive.
- Choose the file format Canva actually needs: PNG for illustrations and borders you'll layer over other elements, JPEG only for full-bleed backgrounds, and OTF or TTF for typefaces.
- Click Download and confirm the resolution — Century Library serves full-archive resolution by default, which is more than enough for print packaging or large-format wall art.
- Save the file into a folder named for the project, not the plate number, so you can find it again without cross-referencing the archive.
Expected result: a file sized correctly for Canva, named something you'll recognize in six months.
Configure your Canva upload folder
- Inside Canva, open Projects in the left sidebar and click Uploads.
- Create a new folder and name it after the Century Library category — "Vintage Botanicals," "Antique Fonts," "Decorative Borders" — rather than by individual project.
- Click Upload files and drag in your downloaded PNGs and JPEGs. Canva auto-generates a transparent background preview for PNGs, so confirm the checkerboard pattern shows before moving on.
- Repeat for patterns and textures separately — mixing categories in one folder makes searching slower once you've uploaded a few hundred assets.
Expected result: your restored illustrations show up under Uploads in the design editor, searchable by the file name you assigned.
Configure fonts through Brand Kit
- Antique fonts don't go through the standard uploader. Open Brand Kit from the sidebar (Canva Pro required).
- Click Add a new font, then upload the OTF or TTF file from your Century Library download.
- Wait for Canva to process the font — this takes longer than image uploads, sometimes a minute or two for ornate display faces with heavy glyph sets.
- Once processed, the typeface appears in your Brand Kit fonts list and in the font dropdown of any text box.
Expected result: the antique font appears alongside your other brand fonts, ready to apply to any text layer without re-uploading per project.
If you're building a full identity system rather than a single design, pair fonts from the archive with the ornamental frames covered in this guide to decorative border designs for stationery — borders and antique type read as a matched set far more often than designers expect.
Variant workflow: layering textures as backgrounds
A second setup is worth building alongside the first if you regularly add aged paper or grunge textures under a layout rather than dropping in a standalone illustration.
- Download the texture as a high-resolution JPEG rather than PNG — textures rarely need transparency and JPEGs load faster in Canva at large canvas sizes.
- Upload to a dedicated "Textures" folder in Canva, separate from illustrations and fonts.
- In your design, drag the texture onto the canvas first, resize to fill the full bleed, then click Lock in the layer menu so it doesn't shift while you add text and illustrations on top.
- Set the texture's blend mode to Multiply if it's covering a colored background, so the underlying color still reads through the aged paper grain.
This matters more than it sounds — restored paper textures are one of the most-used categories in the archive for exactly this kind of layering. If texture work is a regular part of your output, the antique paper textures for photo editing guide covers which plates hold up best under Multiply versus Overlay.
Troubleshooting
- Font doesn't show up in the text dropdown. You uploaded it through the standard file uploader instead of Brand Kit — antique fonts only register in Canva's font list when added via Brand Kit.
- Transparent background turned white after upload. The file was over Canva's size threshold and got flattened. Re-export at a smaller pixel dimension and re-upload.
- Illustration looks pixelated when resized large. You downloaded a preview-resolution file instead of the full archive download — check your download settings and re-pull the plate at full size.
- Pattern tiles don't line up seamlessly. Not every archive pattern is built as a seamless repeat. Check the plate description before using it as a full-background tile rather than a decorative accent.
- Design flagged during Canva's content review for commercial templates. This is rare but happens when reselling a design as a Canva template itself rather than using it in a client project — confirm your use case against the licensing terms before listing anything for resale.
“A restored plate at full archive resolution behaves completely differently in Canva than a compressed stock JPEG — the difference shows up the moment you scale a design up for print.”
Customize your workflow
Once the upload routine is running, expand what you pull from the archive rather than sticking to one category. Wedding and stationery designers commonly stack antique fonts with commercial-use clip art in the same Canva project — the commercial-license vintage clip art guide is worth a read if you're building invitation suites or greeting card lines and need to confirm which categories clear for resale.
Browse subscriptions built for stationery brands
Compare access tiers before you build out a full Canva asset library.
Designers running packaging or product lines through Canva in 2026 tend to build three folders minimum: illustrations, fonts, and textures. Anything short of that and you'll re-download the same plate more than once a month.
FAQ
Can I use Century Library images in Canva for commercial projects?
Yes, Century Library's subscription license covers commercial use, including client work and products sold through Canva-built designs, as long as you're not reselling the raw plate or template itself as a standalone product.
Do Century Library fonts work in Canva Pro?
Yes, antique fonts downloaded as OTF or TTF files upload through Canva's Brand Kit feature, which requires a Canva Pro account. The free Canva tier does not support custom font uploads.
Why does my uploaded illustration lose its transparent background in Canva?
Canva flattens transparency on PNG files above roughly 25MB during upload. Downscale the file before uploading if the illustration is a large full-page archive plate.
What file format should I download from Century Library for Canva?
Use PNG for illustrations, borders and any asset you'll layer over other elements, and JPEG only for full-bleed background textures where transparency isn't needed.
Can I resell a Canva template built with Century Library assets?
Check the licensing terms before doing so — using restored plates inside a finished client project is covered, but reselling the asset itself packaged as a template is a separate use case that needs confirming against your subscription tier.
How many Century Library assets can I use in one Canva design?
There's no per-design limit under the subscription; designers regularly combine antique fonts, borders and illustrations from multiple plates in a single layout.
Do I need Canva Pro to use Century Library images at all?
No, standard Canva accounts can upload and use restored illustration and texture files. Pro is only required for the Brand Kit font upload feature.
One last thing
The most common mistake isn't licensing or file format — it's folder chaos. Designers who name Canva upload folders by project instead of by archive category end up re-downloading the same antique border three separate times across 2026 because they can't find where they saved it the first time. Build the category folders once, and Century Library starts functioning like a second Brand Kit rather than a stock site you keep tabbing back to.