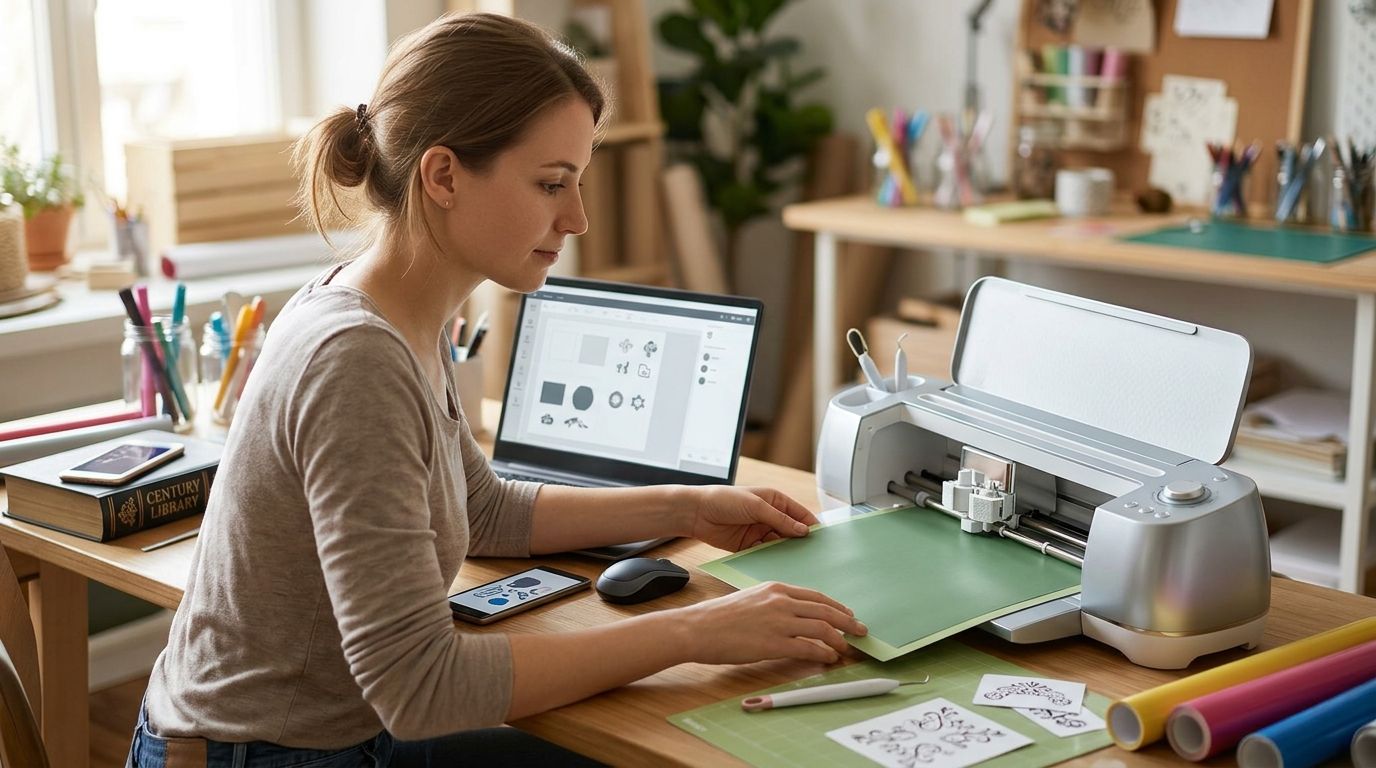
Century Library SVG files open in Cricut Design Space exactly like any other vector download, but vintage restorations come as single flattened layers more often than pre-separated cut files, so you'll spend one extra step ungrouping before the machine reads the design correctly. This guide walks through the upload, the layer cleanup, a Print Then Cut variant for detailed plates, and the fixes for the handful of things that actually go wrong.
- Century Library SVG files upload directly into Cricut Design Space via Upload > Image, no conversion needed.
- Most restored illustrations are single-layer files - ungroup and recolor manually before cutting in 2026's Design Space interface.
- Print Then Cut keeps full-color detail on botanical plates, ornamental borders, and ephemera that lose too much on a single-blade cut.
- Attach layers before moving your mat design, or Cricut will shift pieces out of registration mid-cut.
- A Century Library subscription covers commercial projects, which matters the moment you sell a Cricut-cut product.
Why this matters
Craft sellers running Cricut machines want authentic, hand-restored source material instead of generic clip art that shows up on every third product listing in 2026. Century Library's archive of 50,000+ restored illustrations, antique fonts, patterns and ephemera gives Cricut users vintage plates that haven't been generated by AI, which matters for anyone building a stationery or scrapbooking brand on originality.
The catch is that restoration work prioritizes fidelity to the original plate, not pre-built cut layers. Design Space needs a short manual setup before the machine can separate colors or cut clean outlines. Five extra clicks, once per file.
Before you start
- An active Century Library subscription with download access to the SVG format for the illustration, border or font ornament you want to cut. Start from the Century Library archive and filter to the collection you need.
- Cricut Design Space installed (desktop or app), plus a machine calibrated for the material you're cutting.
- The gotcha: most restored vintage plates download as one flattened SVG layer, not the pre-separated multi-layer file Design Space expects for multi-color cuts. Skip the ungroup step below and Design Space cuts the whole illustration as a single silhouette, losing every interior line.
Set up your Century Library download
- Log into your Century Library account and open the catalogue entry for the plate, border or ornament you want.
- Choose the SVG download option rather than PNG or JPG. Cricut needs vector data to cut, not a raster image.
- Save the file somewhere you'll find fast. Design Space's upload dialog defaults to your last-used folder, which speeds up repeat sessions.
- Open the SVG once in a browser to confirm it renders intact. A truncated download is far easier to catch here than three steps into Design Space.
Expected result: a clean SVG on your desktop, rendering the illustration correctly at full scale.
Upload the file into Cricut Design Space
- Open a New Project in Design Space.
- Click Upload in the left panel, then Upload Image.
- Select Vector Image as the file type and browse to your Century Library SVG.
- Name the file in the Name Your Image field and click Upload.
- Click Insert Images to drop the design onto the mat canvas.
Expected result: the vintage illustration or font ornament appears on your canvas as an editable vector you can resize without any quality loss.
Configure layers, linetype and attach
- Select the uploaded image and click Ungroup in the top toolbar. Restored plates often ungroup into fewer pieces than a native cut file. That's normal for hand-restored source material, not a fault in the download.
- Click each layer and use the Linetype dropdown to set Cut, Score or Draw. Fine engraving-style linework from 19th-century plates frequently performs better as Score on cardstock than as a cut.
- Recolor layers with the swatches in the right panel if you want a multi-material build - contrast paper behind a Victorian border, for example.
- Resize using a corner handle with the lock-ratio toggle on, so ornamental detail doesn't stretch out of proportion.
- Select everything and click Attach in the Layers panel. Attach locks the relative position of every piece so the machine cuts them exactly where you placed them.
Expected result: a mat preview showing the design grouped into the correct color sets, with no pieces drifting from your layout.
“If the value of the plate is in its shading rather than its silhouette, use Print Then Cut and stop fighting the blade.”
Variant: Print Then Cut for detailed plates
Detailed botanical plates, ornamental frames and ephemera with fine crosshatching lose too much when reduced to a single-blade vector cut. Use Print Then Cut whenever the artwork earns its keep through color and tone.
- Upload the same Century Library SVG, but instead of ungrouping, click Flatten in the Layers panel to merge it into one printable image.
- Click Print Then Cut in the canvas view before sending the job to your printer.
- Print on Cricut-compatible cardstock, then load the printed sheet on the mat with the registration marks visible.
- Design Space reads the registration marks automatically and cuts around the printed outline.
Expected result: a full-color printed illustration cut precisely to its outline, with zero manual layer separation.
Browse the restored archive
50,000+ restored illustrations, fonts, patterns and ephemera, downloadable as SVG.
Troubleshooting
- The file uploads as a flat image, not a vector. You picked the wrong option at step 3. Re-upload and select Vector Image, never Complex or Simple.
- Fine linework tears on cardstock. Switch that layer's linetype from Cut to Score, or scale the illustration up before cutting. Antique engravings carry thinner lines than modern cut files.
- Colors merge after ungrouping. Some restored plates were single-color originals and ungroup into fewer pieces than expected. Recolor each piece manually instead of waiting for automatic separation.
- Pieces shift out of place mid-cut. You skipped Attach. Select all layers, attach, then resend the job.
- Print Then Cut registration fails. Set your printer scaling to 100%, not "fit to page" - scaling distorts the registration marks Design Space needs to read.
Customize your workflow
Once the base workflow runs clean, most Cricut sellers branch in two directions. If you build a digital mockup or listing graphic before cutting physical product, the Century Library to Canva workflow covers the same archive on the layout side, so a single downloaded plate serves both the product and the shop photo.
For junk journal and scrapbook sellers pulling ephemera into cuts, the vintage clip art resources for junk journaling guide narrows the archive to journal-friendly plates. If you're stacking ornamental frames across a stationery run, the decorative border designs for stationery roundup is built for that exact job.
Before you list anything cut from these files, confirm the license covers commercial resale. Subscription archives differ meaningfully on this point, and the subscriptions ranked by license terms comparison sets out what each tier permits.
Method comparison
| Method | Best for | Pros | Cons |
|---|---|---|---|
| Standard cut (ungroup + attach) | Bold silhouettes, monograms, simple border frames | Clean edges, multi-material layering, no printer needed | Loses interior engraving detail; needs manual layer setup |
| Print Then Cut (flatten) | Botanical plates, detailed ephemera, full-color ornaments | Keeps every tone and hairline; fastest setup | Print size limits apply; registration marks must scan correctly |
| Score-line hybrid | Antique typographic ornaments and fine rule work | Preserves delicate linework that a blade would tear | Slower; requires per-layer linetype edits |
Verdict: start with the standard cut for anything you'd recognize in silhouette, and move to Print Then Cut the moment the design's detail count climbs. Century Library plates cut best when you match the method to the plate, not to habit.
FAQ
How do I use Century Library SVG files in Cricut Design Space?
Click Upload, then Upload Image, choose Vector Image as the file type, and select your downloaded Century Library SVG. It inserts as an editable vector on the mat canvas, ready to ungroup and cut.
Do Century Library files need converting before Cricut reads them?
No. Download the SVG format and upload it as-is. Design Space reads SVG natively in 2026 with no conversion step.
Why does my vintage illustration cut as one solid shape?
Most restored plates download as a single flattened layer rather than a pre-separated cut file. Ungroup the design and set each piece's linetype manually before cutting.
Is Print Then Cut better than a standard cut for vintage plates?
Yes for botanical illustrations, ornamental frames and detailed ephemera. Print Then Cut keeps full color and fine shading that a single-blade cut removes entirely.
Can I sell products made with Century Library files cut on my Cricut?
Century Library licenses its archive for commercial projects, but check the terms on your current plan before listing. Permissions vary by plan and by how the product is sold.
Why do my layers shift when I move the design on the mat?
You have not clicked Attach in the Layers panel. Attach locks each piece's relative position so the machine cuts them where you placed them.
What file format should I download for Cricut?
Download the SVG option rather than PNG or JPG. Cricut needs vector data to cut cleanly; raster files only work through Print Then Cut.
Why will fine detail on an antique engraving not cut properly?
Set that layer's linetype to Score instead of Cut, or scale the illustration up before cutting. Fine 19th-century engraving lines are thinner than most modern cut-file artwork.
One last thing
The biggest mistake Cricut users make with restored archive material in 2026 is not a Design Space setting at all. It's cutting the illustration at its original download size instead of scaling ornamental linework up before the job. Antique plates were engraved at print resolutions far finer than a cutting blade resolves at 1:1, and that small upsize is often the difference between a crisp cut and a mat full of torn hairlines. Test on one small ornament before committing a full sheet of cardstock.