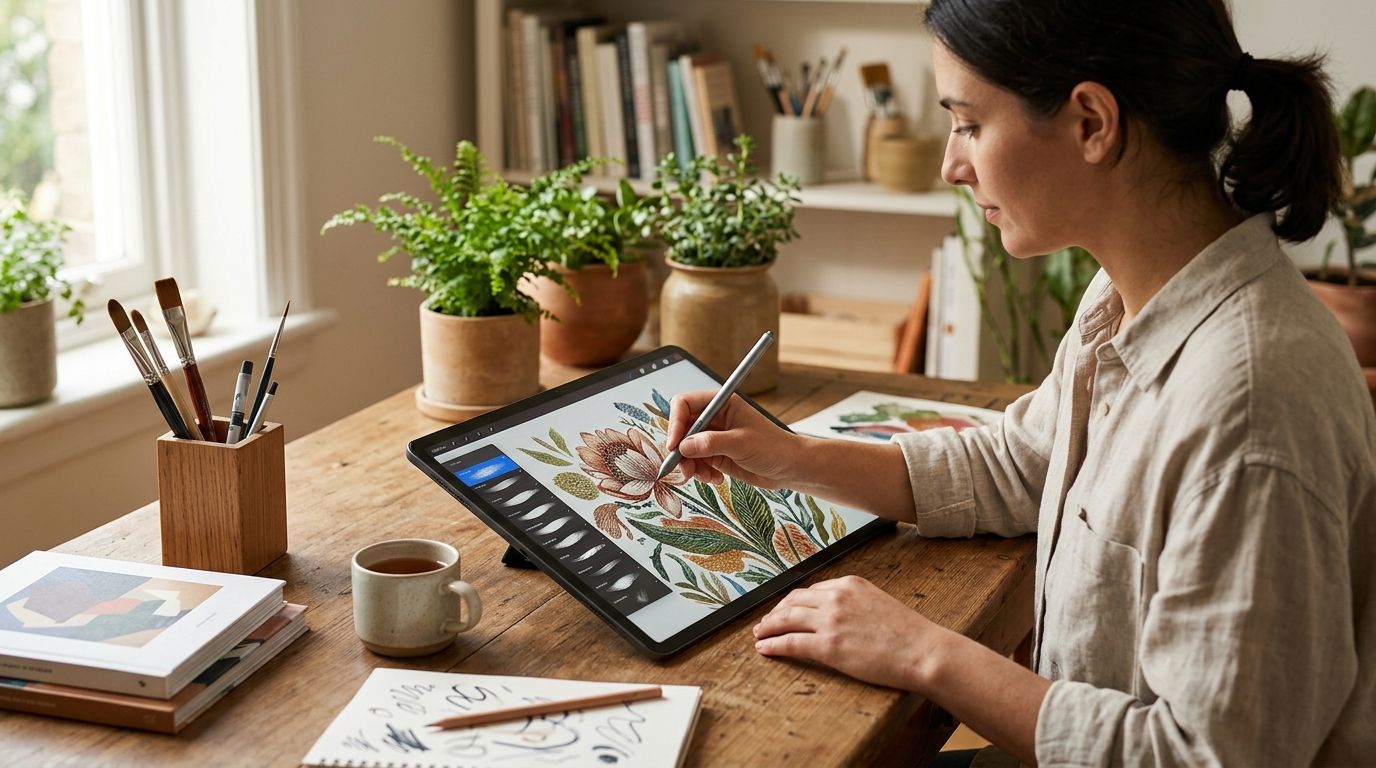
Recreating a Victorian engraving stroke-by-stroke in Procreate wastes an afternoon you don't have. Instead of hand-drawing cross-hatching or aged paper grain from scratch, pull a restored plate from the Century Library archive and turn it into a working Procreate brush in under ten minutes.
- Importing Century Library illustrations into Procreate takes 4 steps: prep the PNG, build a Shape Source brush, add a Grain Source, save the set.
- Use a transparent-background PNG at 300 DPI or higher — low-res scans pixelate the moment you scale the brush up.
- Fixed rotation under Shape Behavior keeps detailed engravings legible; Rolling rotation suits loose grunge textures instead.
- Skip brush conversion entirely for scrapbooking layouts — import the texture as a canvas layer set to Multiply at 40-70% opacity.
- Century Library's commercial license covers the brushes you build from its plates, so check terms once and reuse the set across client work.
Why this matters
Procreate ships with grain and grunge brushes, but none of them carry the actual texture of a 19th-century engraving or a hand-restored botanical plate. Century Library exists specifically because designers want real archival material, not a synthetic filter that approximates old paper.
Once a Century Library illustration or texture becomes a Procreate brush, it behaves like any native tool: rotate, scatter, adjust opacity, layer it under a wedding invitation or a packaging mockup. The conversion is the only technical step between the archive and your canvas, and most designers get it wrong the first time because they skip the transparency prep.
Before you start
- Procreate on iPad, updated to a current 2026 release — Brush Studio's Shape Source and Grain Source panels are what you'll use.
- An active Century Library subscription with commercial-use rights, so the illustration or texture you download is cleared for client work.
- The largest available export of your chosen plate, unzipped and saved to Photos or Files before you open Procreate.
The gotcha that trips people up: if the plate you download still has its original cream or white paper background baked in, Procreate reads that background as part of the brush shape. You'll get a brush that stamps a rectangle instead of a clean illustration. Isolate the artwork with a transparent PNG before you touch Brush Studio — don't discover this at step three.
Download and prep your Century Library plate
- Log into your account and pull the illustration or texture in its largest PNG export — vintage botanicals, monogram fonts rendered as art, and paper textures all work the same way.
- Open the file in Procreate as a new canvas. Match the canvas size to the source resolution so nothing gets resampled down.
- If the background isn't already transparent, use Procreate's Selection tool set to Automatic, tap Refine to tighten the edge around the artwork, then invert the selection and erase the background layer.
- Export the isolated artwork as a PNG. Confirm transparency by checking for the checkerboard pattern behind the image, not a solid white fill.
Expected result: a single PNG with a transparent background, ready to feed into Brush Studio.
Build a Shape Source brush in Procreate
- Open the Brushes panel, tap the + icon to create a new brush, which opens Brush Studio.
- Tap Shape Source, then Import, then Import a Photo, and select your prepped PNG.
- Under Shape Behavior, set rotation to Fixed for detailed illustrations like botanical plates or monogram lettering — this keeps the artwork legible instead of spinning mid-stroke.
- Rename the brush at the top of the screen so you can find it later, then tap Done.
Expected result: a brush that stamps the actual vintage illustration as you draw, instead of a generic dot or line.
Add a Grain Source for authentic paper texture
- Back in Brush Studio, tap Grain, then Import, then Import a Photo.
- Choose a Century Library paper or fiber texture — a separate download from your illustration, used specifically for surface grain.
- Set Movement to Fixed rather than Rolling so the grain doesn't slide with your stroke direction. Fixed grain matches how the original print looked on the page.
- Lower the Grain Intensity slider if the texture reads too dark against your illustration's colors.
Expected result: every stroke now carries visible fiber, foxing, or stain marks pulled from a real archival scan, not a synthetic overlay.
Save your custom Century Library brush set
- Tap Done to exit Brush Studio.
- Long-press the new brush and select Duplicate, or create a new folder in the Brushes panel named something like "Century Library Archive."
- Repeat steps above for each plate you expect to reuse — a monogram font rendered as art, a botanical illustration, a distressed texture.
- Drag related brushes into the same folder so client projects stay organized.
Expected result: a dedicated brush library sitting apart from Procreate's defaults, ready for branding work, wedding invitations, or packaging mockups.
Import Century Library textures as backgrounds instead of brushes
Not every project needs a brush. For scrapbooking layouts or junk journal spreads, skip Brush Studio entirely:
- Import the texture PNG directly onto a new layer above your canvas.
- Set the layer's Blend Mode to Multiply or Overlay.
- Drop opacity to somewhere between 40% and 70%, depending on how visible you want the aging effect.
Expected result: an instant aged-paper background in seconds, no brush conversion required. This is the faster path when you just need atmosphere, not a reusable stamping tool.
Troubleshooting
- Brush stroke pixelates when scaled up. The source file is below roughly 2,000px on its longest edge. Re-download the largest available export and keep brush size under the source resolution.
- Grain looks muddy over the illustration's colors. Grain Source imported at full strength. Lower the Grain Intensity slider inside Brush Studio's Grain pane.
- A white box shows up instead of a clean illustration. The PNG was exported without an alpha channel. Redo the Selection and Refine step before reimporting.
- The artwork rotates oddly mid-stroke. Shape Behavior is set to Rolling, which suits loose grunge textures but distorts detailed engravings. Switch to Fixed.
- Colors look washed out compared to the source file. Procreate's canvas color profile doesn't match the export. Check canvas settings under Actions > Canvas > Color Profile before reimporting.
Customize your workflow
Once you've built a brush set from one plate, the same four steps apply to any Century Library download — antique fonts rendered as illustrations, distressed textures, botanical plates, ephemera scraps. Building a matching workflow for Canva instead of Procreate follows a similar logic; see the Century Library to Canva workflow if your team works across both tools.
Before reusing brushes across paid client work, confirm what your subscription tier actually covers — license terms vary by use case, and the breakdown on vintage illustration subscriptions ranked by license terms is worth five minutes before you invoice a packaging or branding client.
Find your next plate to import
Browse the full archive for illustrations, textures, and fonts to convert.
FAQ
How do I import Century Library illustrations into Procreate?
Download the PNG export, isolate the artwork with a transparent background, then load it as a Shape Source inside Procreate's Brush Studio. The whole process takes about ten minutes per plate in 2026's Procreate version.
Can I use Century Library textures as Procreate brushes for commercial projects?
Yes, as long as your subscription tier covers commercial use, which most Century Library plans do. Check the specific license terms for the project type before invoicing a client.
What file format works best for Procreate brush imports?
A PNG with a transparent background works best. JPGs carry a solid background that Procreate reads as part of the brush shape, which distorts the stamp.
Do I need both a Shape Source and a Grain Source?
No. Shape Source alone gives you the illustration as a stamp. Adding a Grain Source layers in paper texture and fiber detail, which matters more for backgrounds than for clean line art.
How large should the source image be for a Procreate brush?
Aim for at least 2,000 pixels on the longest edge at 300 DPI. Anything smaller pixelates once you scale the brush up on a large canvas.
Can I import antique fonts the same way as illustrations?
Yes. Antique font glyphs rendered as art follow the identical Shape Source process, which makes them reusable as stamps for monogram or lettering work.
What's the difference between using a texture as a background versus a brush?
A background layer set to Multiply gives instant atmosphere with no setup. A brush is reusable across many projects but takes the extra Brush Studio steps to build once.
Why does my imported brush rotate the illustration oddly?
Shape Behavior is likely set to Rolling rotation, which spins the artwork with your stroke direction. Switch it to Fixed for detailed illustrations like engravings or botanicals.
One last thing
Engraved plates with heavy cross-hatching make noticeably better Shape Source brushes than smooth illustrations — the hatching creates natural bristle-like breaks when scattered across a stroke, closer to how the original printmaker's line actually behaved on paper. Start your first brush with a Fixed rotation and a hatched plate before you try anything looser; it's the fastest way to see whether the workflow is working correctly.